Creating Your QuickTime VR Panorama
Step 3: Create the QuickTime Movie
Now that you have your panorama image created, you can turn it into a QuickTime VR movie. To do this, you'll use a program called Pano2QTVR. It is a free utility and if you don't have it on your computer, you can download it here: Pano2QTVR download.
Click Create a New Project. Give it a name you can remember and save it in your Documents folder.
Click the Cylindrical button in the middle of the window. 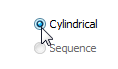
Now we are going to tell the program to use the panorama image we created in ICE to build our QTVR movie. Click the elipsis as shown below and open your panorama image.

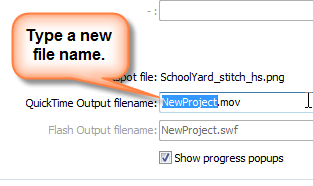
We're almost done. Type a name for your file as shown below.
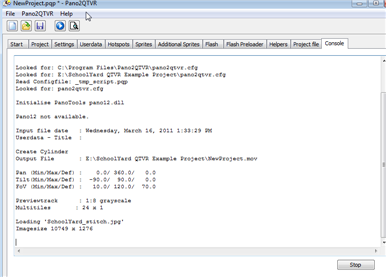
Now click Create at the bottom of the screen. You'll see a lot of text scrolling on the screen and then a preview window will open to show your completed video. Scroll around the picture. Remember, you can use the Shift and Ctrl keys to zoom in and out.
When click the Create button, look for text scrolling down the window like this. |
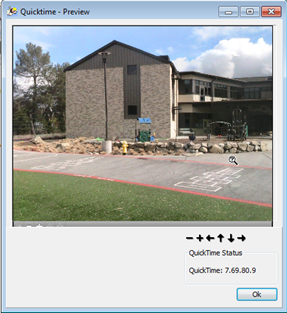
When the movie is created, you'll see a preview window where you can spin around your movie and zoom in (SHIFT KEY) and out (Ctrl KEY). |
 |
 |